Image to 3D: one picture in, a full model out
Upload a product photo, a concept sketch or a render. threeD rebuilds the object in 3D, keeps its silhouette, and projects your image onto the surface as the starting texture.
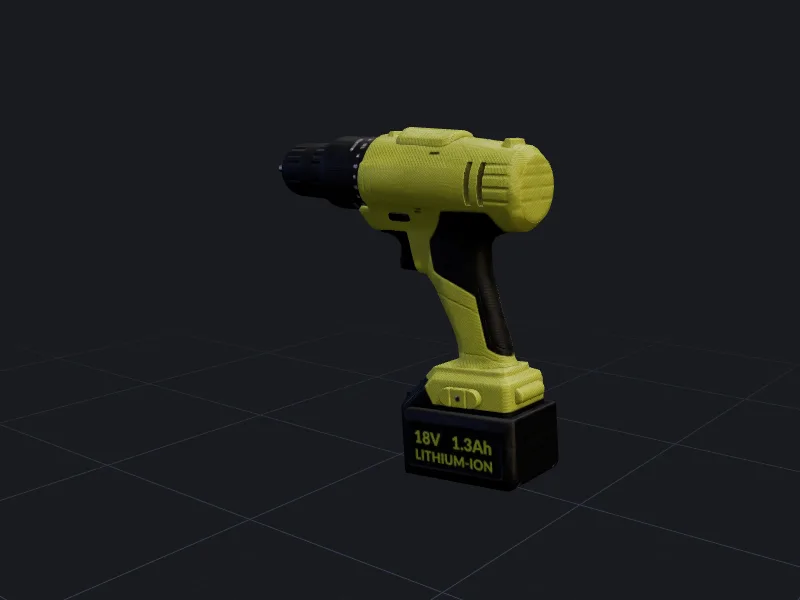
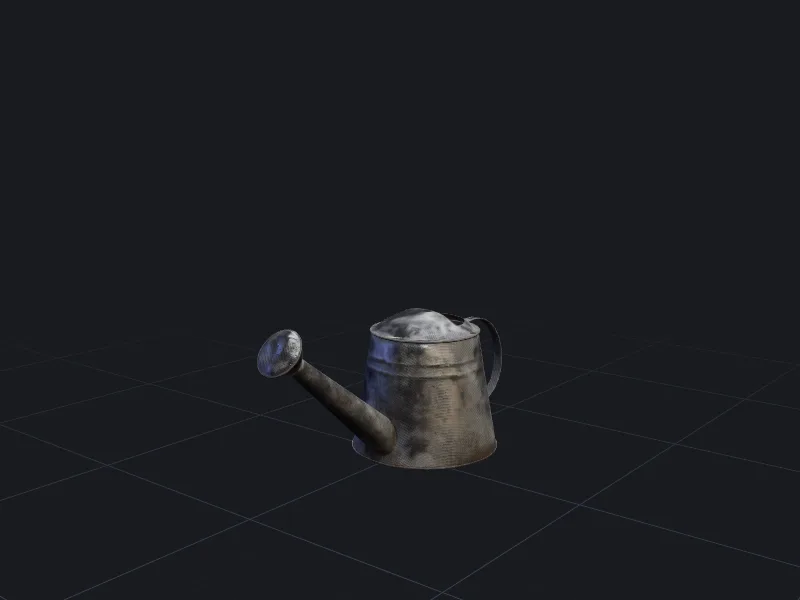
Easy case.Symmetric around one axis, so a single front view constrains almost the whole shape.
How image to 3D works
- 1
Upload one to four views
A single front image works. Adding side and back views tells the model what it would otherwise have to guess. - 2
Background removed for you
The object is cut out automatically. Check the mask preview and paint back any part that was removed by mistake. - 3
Generate and inspect
You get a textured mesh in a few minutes. Rotate it to check the hidden sides, then remesh, retexture or export.
The input image decides most of the result
The generator can only be as accurate as what it sees, so the photo matters more than any setting. The short version:
- One object, fully in frame, with a little space around it.
- Even, soft light. Hard shadows get baked into the texture as dark paint.
- A three-quarter angle shows more depth than a flat front shot.
- At least 1024 px on the short side. Blurry inputs give soft geometry.
- Avoid strong perspective from wide-angle phone lenses close up; step back and zoom in.
There is a full walkthrough with examples in choosing a reference image for image to 3D.
When to use multi-view input
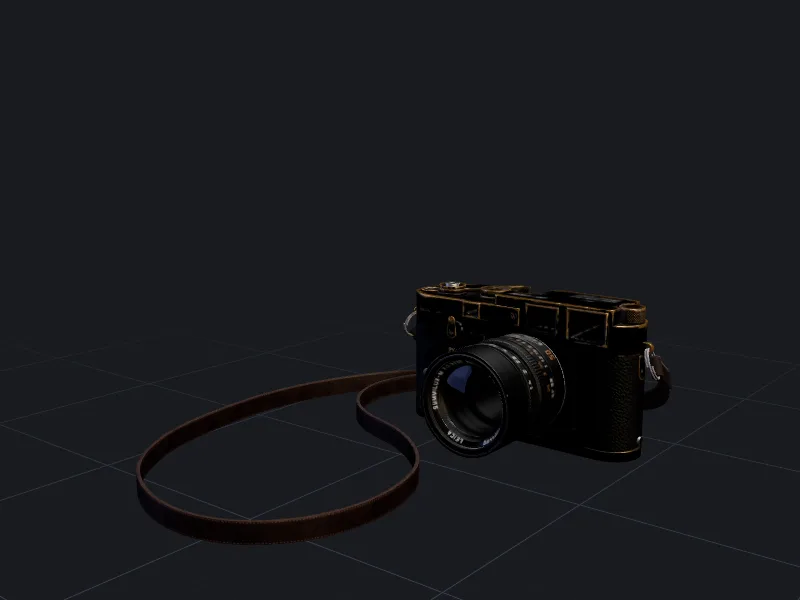
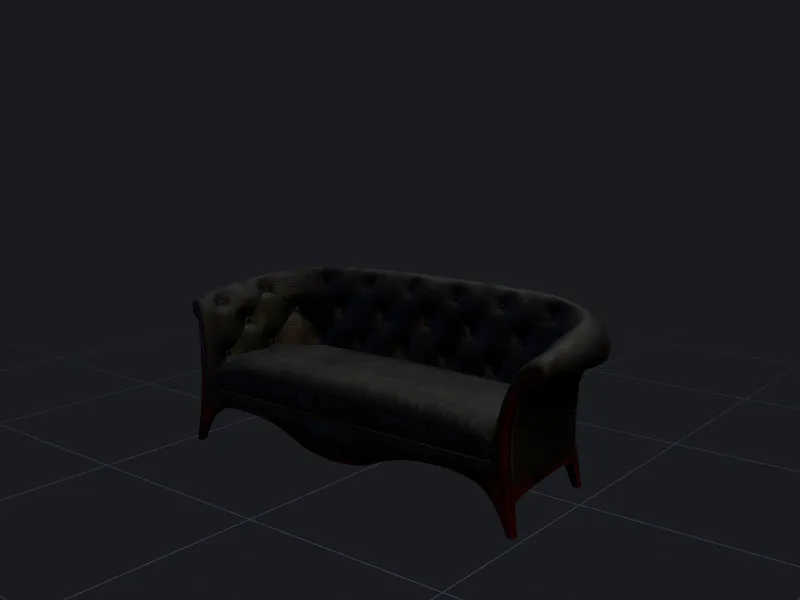
A single image forces the generator to invent the back of the object. For symmetric products like bottles, lamps and vases that guess is usually right. For anything with a different back, such as a backpack, a chair or a character with a tail, upload extra views.
Views should show the same object under similar lighting. Label each upload as front, left, right or back in the uploader so the views are not mixed up. Multi-view generation costs the same 30 credits as a single image.
Sketches and concept art
Clean line drawings and flat-shaded concept art work well, especially for stylised props and characters. Two things help: draw the object in a neutral pose on a plain background, and add a short text hint (for example “wooden treasure chest, iron bands”) so the generator knows which materials to paint.
Rough thumbnails with overlapping strokes tend to produce lumpy geometry. Clean up the outline first, or use text to 3D and attach the sketch as a style reference instead.
Use images you have the rights to
Only upload photos you took, artwork you made, or images you are licensed to use. Turning someone else’s product photo or character art into a 3D model does not remove their rights in the design. Uploaded images are private to your account and are not used for training unless you opt in. See model licensing and the acceptable use policy.
Questions people ask
Can I turn a photo of a person into a 3D model?
Why do the back and underside look less detailed?
Can I use AI-generated images as input?
How accurate are the dimensions?
Make your first model in the studio
Every plan includes all the tools, commercial rights and every export format. Cancel any time.